
Appearance
Getting Started
When a user visits DirectTrust Tools without being logged in, they are greeted by a welcome page that describes the platform and prompts them to log in. No tools or navigation options (except documentation) are visible until authentication is complete.
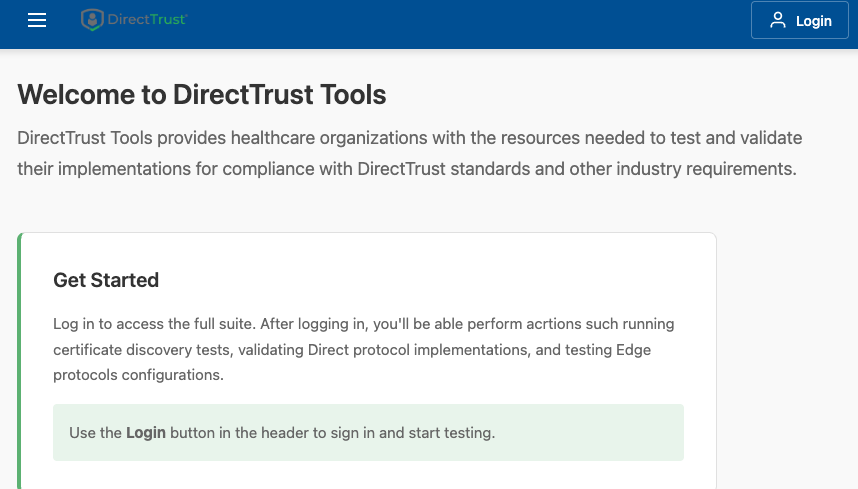
The DirectTrust Tools landing page before login
Logging In
Clicking the Login button in the header initiates the sign-in flow, which presents a login dialog with two options:
- DirectTrust Auth — For members of the DirectTrust Portal. This option redirects to the DirectTrust Auth service, which validates portal membership before completing the login.
- Continue with Google — For DirectTrust staff only. Staff members may authenticate using their Google/Gmail account associated with their DirectTrust staff profile.
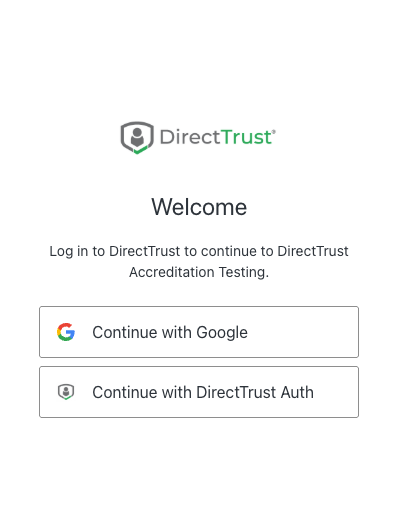
Login dialog with DirectTrust Auth and Google sign-in options
TIP
Note: The Google login option is reserved exclusively for DirectTrust staff. Portal members should always use the DirectTrust Auth option.
DirectTrust Auth Login (Portal Members)
Selecting the DirectTrust Auth option redirects the user to the DirectTrust Auth service, which implements an email one-time password (OTP) flow validated against the DirectTrust Zoho Portal. The steps are:
- Step 1 — Email Entry: The user is shown a sign-in form with the DirectTrust logo. They enter the email address associated with their DirectTrust Portal account and click Send Login Code.
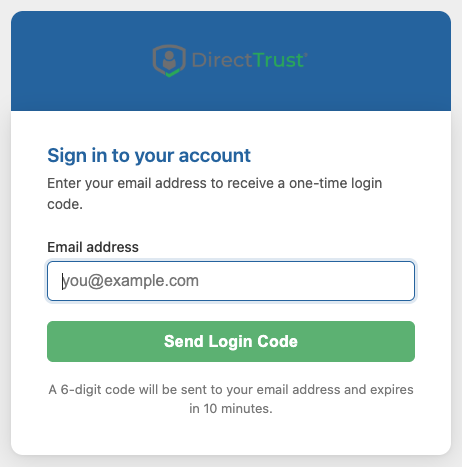
DirectTrust Auth — email entry step
- Step 2 — OTP Verification: The service checks that the submitted email belongs to an active DirectTrust Portal member. If confirmed, a 6-digit one-time code is sent to that email address. The user is taken to the verification screen, which displays a partially masked version of their email address for confirmation.
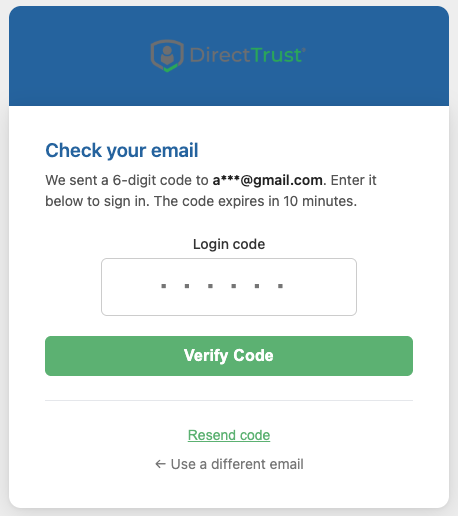
DirectTrust Auth — one-time code verification step
- Step 3 — Enter the Code: The user types the 6-digit code into the large centered input field and clicks Verify Code. The code expires after 10 minutes. If the code was not received, the user can click Resend code to request a new one, or go back and enter a different email address.
- Step 4 — Redirect: After successful verification, the user is authenticated and the tool suite becomes available.
Important: Only email addresses registered as active members of the DirectTrust Portal will be accepted. If you receive an error stating that your email is not recognized, please contact DirectTrust at admin@directtrust.org to verify your portal membership status.
Google Login (DirectTrust Staff Only)
DirectTrust staff members may select Continue with Google to sign in using their staff Google account. This bypasses the OTP flow and grants immediate access to all tools. This option is not available to portal members.
Complete Account Registration
The first time a user logs in, DirectTrust Tools will not yet have a local account record for them. The application automatically detects this and redirects the user to the Account Registration page before granting access to any tools.
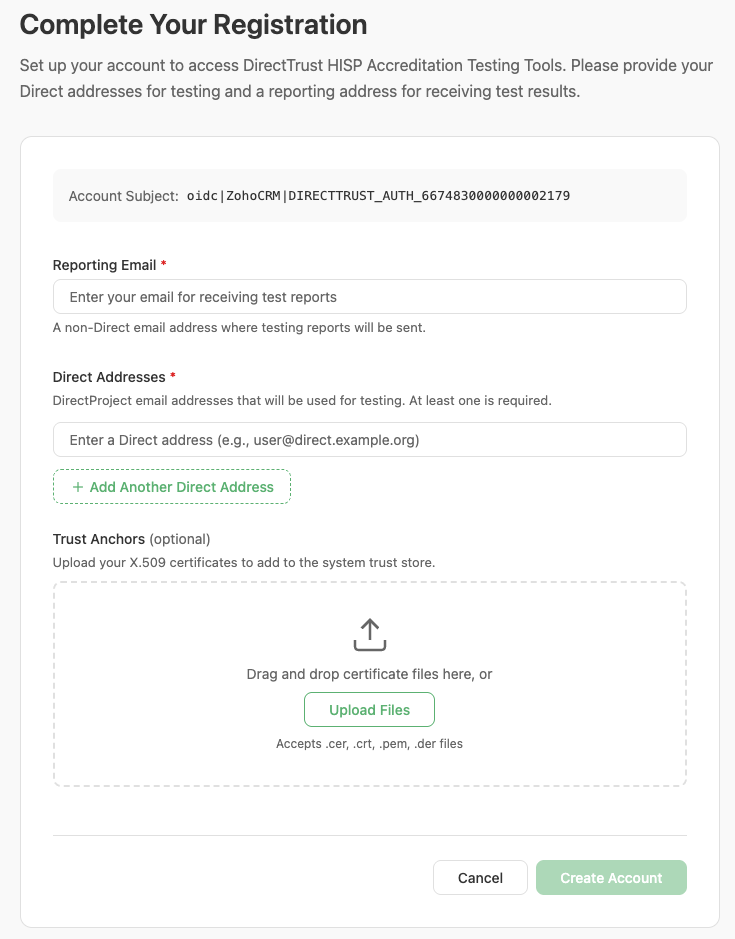
Account Registration page
Registration Form Fields
The registration page asks for the following information:
- Reporting Email (required) — A standard email address (non-Direct) where formal test reports will be sent. This can be any valid email address, such as a corporate mailbox. It should not be a Direct address.
- Direct Addresses (required) — One or more Direct addresses that will be associated with the user's account for testing purposes. At least one address must be provided. Additional addresses can be added by clicking Add Another Direct Address. If a user does not yet have or need a Direct address, any valid email address can be entered as a placeholder and updated later via User Settings.
- Trust Anchors (optional) — Users who need to test against their own Certificate Authority can upload one or more trust anchor certificates in PEM or DER format using the trust anchor upload control.
Tip: All of the information entered during registration can be changed at any time after account creation by navigating to Management > User Settings.
After filling in the required fields, click Create Account. The system creates the account and the user is taken to the main tool dashboard. Clicking Cancel logs the user out without creating an account.
Prerequisites
Some tools — specifically the DirectProtocol and Edge Protocol tests — require Direct message exchange with the Testing Tools, which means your HISP must trust the Testing Tools' underlying HISP. The home dashboard, visible once you are logged in, includes a Prerequisites card that lists everything needed to establish this trust before running those tests.
- Trust Anchor — To establish trust with the Testing Tools, your HISP needs to include the Testing Tools' trust anchor. You can either include the trust anchor directly, using the Download Trust Anchor (PEM) link on the Prerequisites card, or include it as part of the DirectTrust Interop Testing trust bundle, linked from the same card.
- XDR Client Certificate — The Edge Protocol tests include XDR tests where the Testing Tools connect to an XDR server running in your HISP. If your XDR server is secured by TLS, the Testing Tools present a client TLS certificate as part of the TLS handshake. If your XDR server requires mutual TLS authentication, your system will need to accept the Testing Tools' client certificate, which can also be downloaded from the Prerequisites card.
Tip: The Prerequisites card on the home dashboard is the authoritative source for these downloads — revisit it any time you need the current trust anchor, trust bundle, or XDR client certificate.